I get a lot of questions about workflow when I’m out shooting the surf scene. First, I appreciate the question because there is so much more to capturing a good image than just pointing and shooting and anyone who asks the question has obviously struggled with the editing process. So, here I strive to share the steps I take once the day’s shooting is complete and I’m back at the computer.
Shooting in Camera RAW
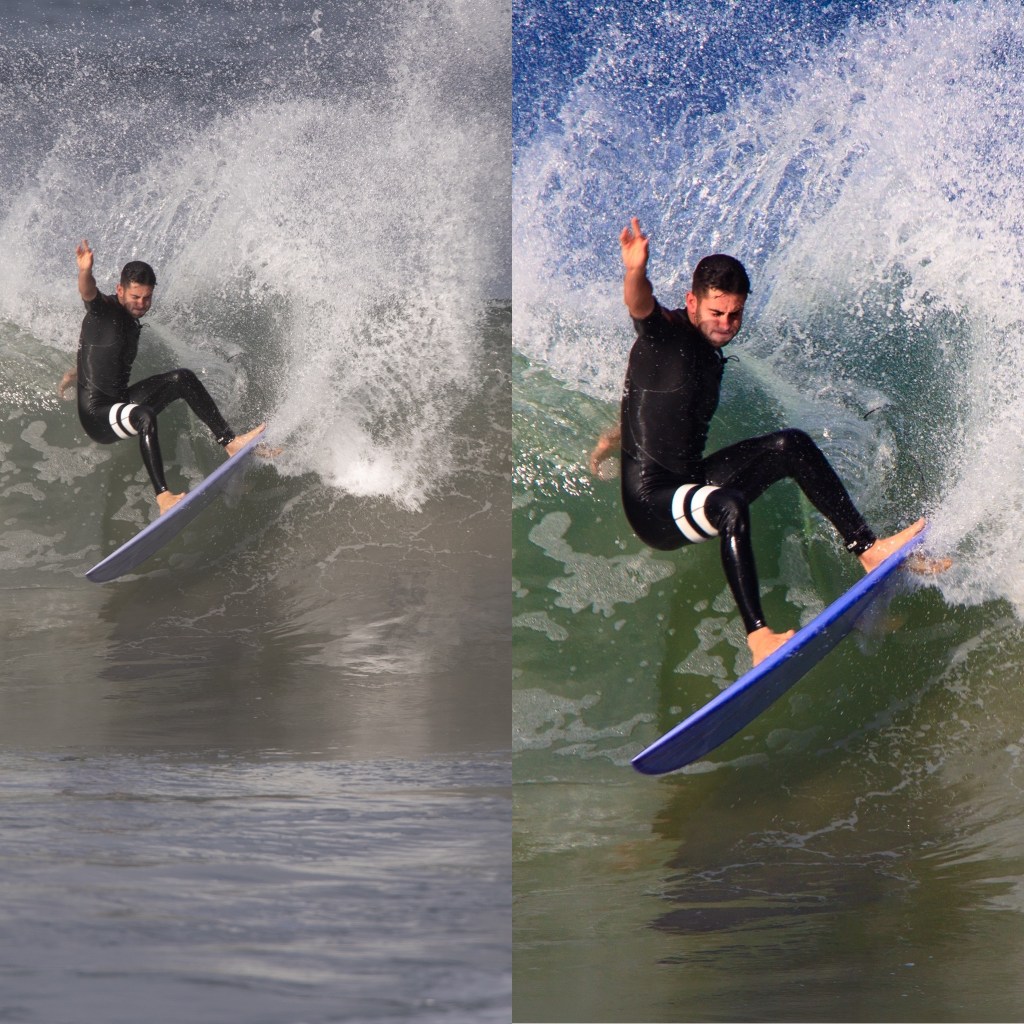
I shoot all my images in camera RAW. This means the images are unformatted, giving them a dull and lifeless appearance when they are first uploaded. In fact, they don’t even look similar to the image on the back of the camera because my camera shows a formatted .jpg. So why shoot in RAW? It has multiples more information in the file than a .jpg and that allows me the most options when editing.

Step One: Selecting A Preset
The first step is to assign a format to your RAW image. Lightroom offers a number of presets to choose from, but I generally use my camera’s setting. When shooting surfing, I shoot in “Landscape” so I select the Camera Landscape preset to start my editing. This assigns a color combination to the RAW image.
Cropping and Selecting the White Balance
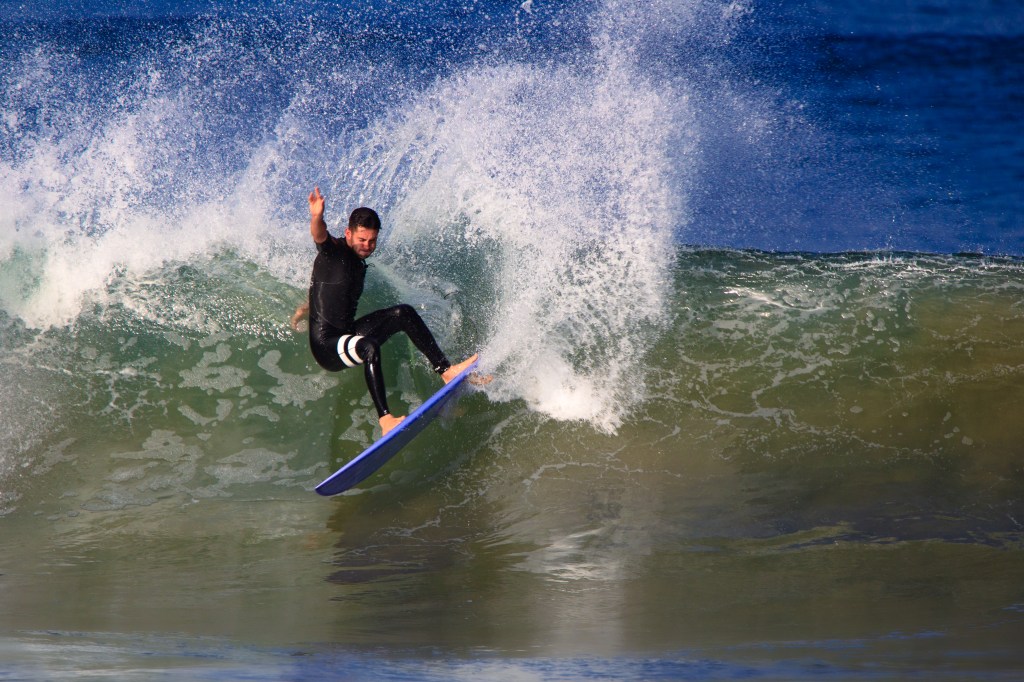
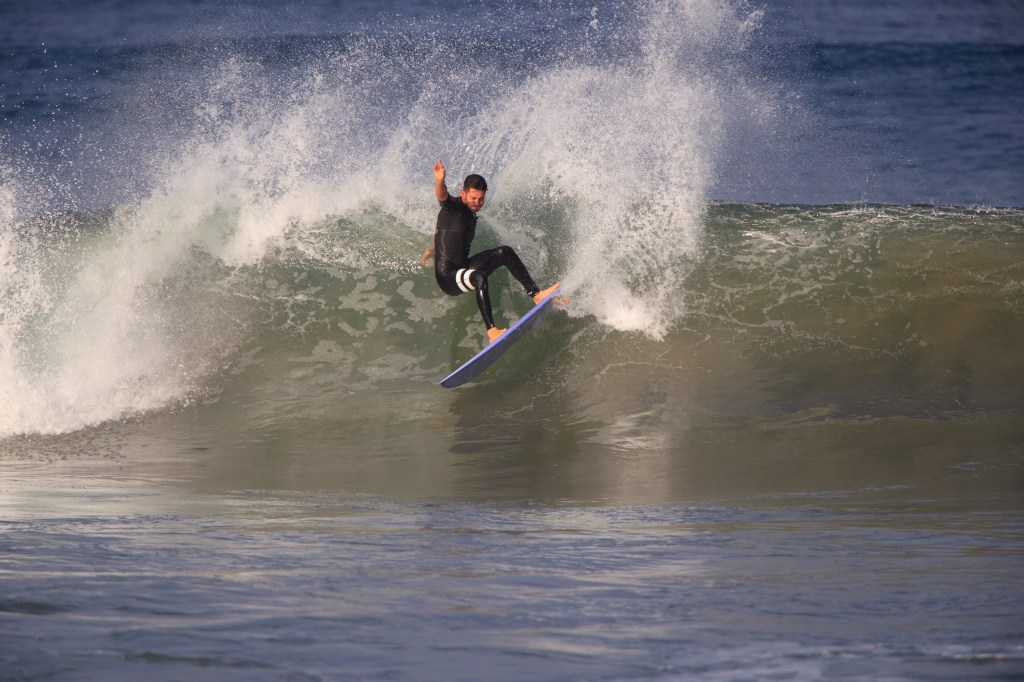
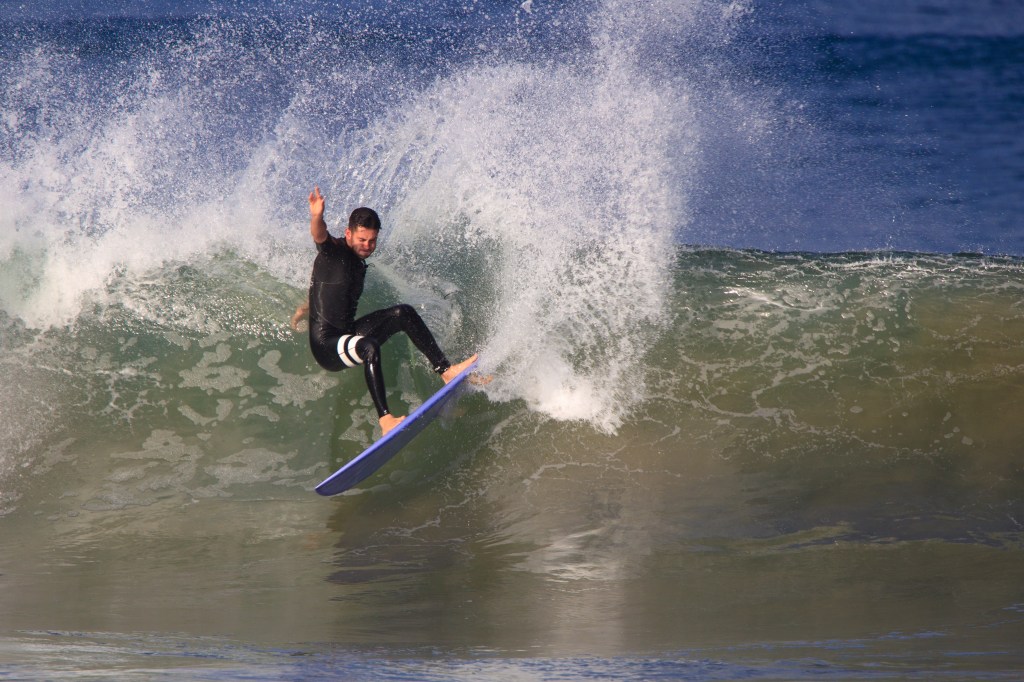
My next step is to do a rough crop so I’m working with just the parts of the original image that I will want in the finished piece. I adjust the horizon so that it is level and bring in the edges depending on what I’m going for. For a cutback picture like this one, I like to crop to the edge of the spray to emphasize the action. I also try to eliminate any whitewater in the foreground. Finally, I try to place the surfer on one side of the frame with the unsurfed wave on the rest so that the viewer can mind surf the rest of the wave. For the white balance, I often go to the bottom slider on Lightroom and adjust the blue layer up as high as I can without oversaturating the image.
Fine Tuning Edits
Now that the basic parameters of the image are set, this is where I make fine-tuning adjustments to create an image that is balanced and really pops (my style choice). I typically increase the exposure and the whites, while adding a little dehaze for clarity. I typically shoot my images a stop or two down since it is easier to bring out detail from shadows than overexposed areas.
When the surfer’s face is showing, I will create a layer mask of the face and up the “clarity” while lessoning the shadows. This may necessitate decreasing the noise as well. Nothing ruins a surf picture quicker than having the entire face lost in a fuzzy, dark shadow.
I will look for dust spots on the image and use the healing tool to remove them. Sometimes errant water spray or even sun spots get in the way of the surfer’s face and these can also be removed with the healing tool. I also like to use a gradient tool combined with the texture slider to remove detail and smooth out the foreground water below the face of the wave since I want more attention given to the surfer and the wave itself.
All of the details are contained in the RAW file so it’s just a matter of playing with the different sliders to bring out what you want. Once I’m happy with the details, I might hit the vibrance slighter just a tad to really make the blues in the ocean pop. Watch out, though, for the color of the surfer’s skin as the vibrance slider may add a red tinge. This can be handled by decrease red saturation in the individual color sliders.
Color Coding
The final step in my workflow is an optional one. Lightroom has a wonderful color coding section. This is found in the three small color wheels; one for shadows, one for midtones, and one for highlights. If I chose to color code, I will work with each wheel separately. Here, I can bring out more warm colors in the sky if the shoot is in the late afternoon. Similarly, I can increase the blues in the mid tones (such as water), giving it a bit more of a pleasing tone.
Over the years, I have changed my style a number of times. Presently, I like the tight frame look with a good amount of bright white spray to emphasize the movement. I also find a slightly bluer tone to the water to be preferable to green and those are the tweaks that I make to my images. The funny thing is that if I were to start over with a RAW image I edited months ago, the result would inevitable be different. That is the art part of photography!